As y’all probably know by now, little Amelia has arrived. So, not that you aren’t important to me, but we have shuffled some priorities around this week as we get settled as a family of four and entertaining family who have come to support us! Don’t worry, I’ll be back soon….in the meantime, please enjoy some Tutorials! The first is written by my besty, Betsy (say that five times fast!). Enjoy (and feel free to bring me some of your yummy cupcakes!!) =)

Hellooo! I’m so excited to be a guest blogger here this week. If you are a regular, you may know me as the mommy of Jayna’s little pal, Lulabelle, who pops up regularly in these blog posts. I am Betsy, Shara’s very most favoritest friend from her olden days in Maryland. I have had the pleasure of knowing her for about 15 years now, and my hubby has known her even longer, as we all met in Sunday School and youth group at our church in Laurel, MD. I love art and making things, my large/crazy extended family, and my small/sweet immediate family, God and my church, and I have the biggest sweet tooth of anyone I know!

In the past couple years, I’ve found some ways to combine my love of art and sweets. In college it started with painting baked goods (donuts, cupcakes,
cakes)…


…and has since morphed into making edible creations (fancy cakes and cupcakes). I still love to paint, but it’s so rewarding to have someone bite into your creative project and devour it! And to be honest, not many people (including my husband, who I happen to live with) want a bunch of donut paintings hanging in their houses, so they end up taking up a lot of space in the junk room…not so with cake and cupcakes!
Here’s one I made for Buggy’s 1st Birthday Party:

Here’s another one I did for a tea party-themed birthday:

Please come visit my Facebook Page, Betsy’s Cakes to see more of my favorite creations!
Alright, so in honor of my new, absolutely wonderful, blessing of a 2nd god-daughter, Amelia, I’m going to make Cute Baby Cupcakes! Heartfelt congratulations to Shara, Dave, and Jayna!!! These cupcakes are great for baby showers. I also made them recently for a thank you to our beloved nursery workers at church, with a cake to go along and display my thank you message.

I love to try new recipes from cakecentral.com and tweak them to my liking. That is an awesome website for cake and cupcake makers – novice and genius alike – with forums to ask questions and recipes galore. For today’s Amelia cupcakes, I’m going to go with a chocolate chunk cake and cream cheese frosting, but one of my favorite things about these cupcakes is that you can go with any flavor, thanks to the decorations. For example, I LOVE chocolate frosting, but with a lot of my cupcake orders, the customers want a frosting color dyed to match the theme of the party and chocolate does not work for that…with these ones, you can make your baby blanket any color to match the party and still have your yummy chocolate underneath.
So first, choose a flavor and bake your batch of cupcakes.

While they are baking, you can get started on your decorations. Now, I love to work with fondant… its like a dream come true to get to play with PlayDoh again for me as an adult, and the fact that its edible and dyeable is just awesome. But some people hate it. Its verrrry sweet to actually eat, and its a little temperamental to work with, but I love it and think the look of the end product is definitely worth the work. If you are totally scared of or against fondant, I’ll give you another option at the end of this. 🙂

Confession:
I don’t make my own fondant. If you want to try, there are great recipes on cakecentral.com, but for me, it’s just too time-consuming and too uncertain (consistency wise)… I buy Satin Ice brand at a cake supply store or online (cheaper). It’s a good middle-of-the-road brand, not insanely expensive, but a great product. Michael’s and all craft stores sell Wilton fondant. Wilton’s alright for this project, and for just starting out with using fondant, but it’s not good for covering a whole cake, and it doesn’t taste very good… I’m just not a fan. I’ve also seen Duff Goldman from Ace of Cakes has a new product line out. I haven’t tried it, but price-wise it seems to fall in between Wilton and Satin Ice, so it’s probably similarly in-between in quality/taste — give it a shot if you don’t want to bother trying to find my Satin Ice brand. There’s no magic formula for how much you need per project (that I know of anyway) but I’d say 2 lbs would be plenty sufficient for this project with a batch of 24 cupcakes. Fondant comes in many colors, but it is easiest and cheapest to just buy white and dye it to your liking unless you need a really dark or really bold color.

To dye it different colors, you want to purchase gel food coloring. Wilton brand of these at any craft store are actually great and the best deal (super cheap even). A little bit of gel coloring goes a looong way, so buy the smallest containers they have and just get the basics – red, blue, yellow, and black, plus a brown. While you’re at the craft store, also think about buying a black food coloring/edible marker for the eyes and mouths of the babies (you can do these with just the black food coloring gel, but it’ll make your life easier to get a marker).

Alright, so let’s get to work on some cute, edible babies!
1. Take some of your white fondant – start with maybe a baseball sized glob – of it and work it with your hands, add another baseball sized glob and continue
kneading. Add a little bit of yellow and red gel food coloring to it using just the tip of a toothpick. Knead all of the coloring in, folding it and squishing it a lot, just like PlayDoh.
*If your fondant gets dry and cracky, mix in a little dab of Crisco or shortening. If it gets sticky, put a little cornstarch on your hands*
Add more yellow or red as needed in very small increments — you don’t want to end up with an orange, fake-tan baby — I like a pink tone. You can also play with adding a little brown if you feel your skin color needs it. To make the dark-skinned babies in my Nursery Worker Thank You Cupcakes, I used
actual brown fondant rather than trying to dye it. You can also use softened Tootsie Rolls instead of brown fondant!

2. Once you have a skin color you are happy with, break off a chunk a little larger than a quarter, and roll it into a ball in your hand, and then flatten a little
bit. Keep your extra fondant wrapped up in Saran Wrap if possible while you do this – it can dry out very quickly and if it gets hard and dry its pretty useless and can’t be brought back from the dead. Put your first head on a cookie sheet (you may want to sprinkle your cookie sheet with a little cornstarch to make getting the heads off later easier) and then continue pulling off similar sized pieces of fondant and rolling them into balls and placing on cookie sheet until you have enough for all of your cupcakes. Make an extra one or 2 heads for possible blunders(!) but don’t use up all of your flesh-colored fondant (we still need a little for hands, ears, and noses). Pop them into the fridge.

Check on those cupcakes if they’re still baking, or breathe in the sweet aroma of cake in your kitchen if they are now cooling. Ahhhh….
3. Pull off pea-sized pieces of your flesh-colored fondant for each hand, so 2 per number of cupcakes you have. Roll each into a little ball and then flatten it
just a little. Use a knife or toothpick to make 3 little lines along the side of each one, to represent fingers. Set each pair of hands near each head so you
don’t lose track of how many you’re supposed to have!

4. Now you want to get out a little cup of water and a small paintbrush (or a q-tip will work) and get your heads out of the fridge. Dab each of the now chilled
heads with just a little bit of water in the middle of each face. Pull off teeny tiny pieces of your flesh fondant and roll into a little ball, and then pop each onto the moistened face one by one. The water makes the fondant sticky, and sugar will bond with sugar when wet.


Do this for each face, then go back and dab each with water on the sides where ears will go. Again pull off teeny pieces of your fondant to form ears. You can be ambitious and try to make half circles, but in reality if you just make them into little balls, they’ll squish to ear-resembling things once you stick them on the moistened spots of the heads. Pop in fridge to set up the bond.

5. Draw the eyes and mouths on, using either a black food-coloring marker or a small paintbrush and black food coloring watered down with a little bit of clear
alcohol. (You can use water if you don’t have any alcohol, but it will take a lot longer to dry, so be extra careful not to smudge an eye as you pop your heads on your cupcakes.)

If your kitchen is warm, you may have to do this step in shifts, popping your cookie sheet of heads back in the fridge to cool periodically because fondant starts to sweat (condensate) when it goes from cool fridge to warm kitchen, and your food coloring won’t stick very well if your heads are sweating.

6. Frost those yummy smelling cupcakes. I like a lot of frosting, and again because these decorations cover up your frosting almost entirely, don’t worry
too much about the look of it. Many people won’t eat the cute fondant decorations at all, so you want them to have a normal amount of frosting underneath any decorations.

7. Pop each head onto each cupcake, making some looking up at you and others facing the side… Half of the babies will be on their backs with a blanket on them and the other half will be peeking out from under a blanket as if on their bellies.

8. Place about 3 chocolate chips, or a little extra fondant, or a Tootsie Roll, or any little candy, along the cupcake coming down from the head where the body
would be. This just creates a little height under each blanket. Pop them all in the fridge.

9. Now, let’s move on to some baby blankets. Take some of your original white fondant – again I like to start with about a baseball sized glob – and knead it,
then add some gel food coloring of your choice. Once you have a color you’re happy with, sprinkle a clean surface area with cornstarch and roll out your
fondant to a thin sheet ~ 1/16” to ⅛”. Use a knife or a pizza cutter to cut out roughly 2”x 2” squares (or a square cookie cutter would be super easy if you
have one!). These do NOT need to be exact… blankets are wavy and soft, not rigid, so they look totally fine even if they come out longer on one side or
askew.

10. Take your cupcakes back out of the fridge and drape each blanket over the “body” of chocolate chips or whatever you use.

11. Attach hands, dabbing the chin area of each head with a little water and sticking them on.

12. If you want to get fancy, add some little sprouts of hair to the babies or decorations to your baby blankets and tuck a Teddy Gram in with some of them!
You can use frosting or fondant for either. I used little pieces of colored fondant rolled out into a tiny snake and then curled up and stuck on with water
for the hair and little dots of some leftover frosting to make different patterns on a couple of the blankets.


…Adorable!

Now, if you’ve lasted with me this long and have had a terrible go at the whole fondant thing, don’t you worry. There is a different version of these in the
awesome Hello Cupcake! book that uses all candy and found foods. They suggest a mini vanilla wafer for a head and a softened, rolled out Starburst for the blanket! Interesting! I haven’t tried it, but give it a shot if you are against fondant.
Finally, I’m going to let you in on a secret of professional looking cupcakes. The cupcake wrapper is key. They make any cupcake look fancy even if you’re frosting has turned out gloppy and weird and your cakes are all lopsided, and they can tie in your color scheme beautifully and easily. They are getting to be a huge trend now as cupcakes are so hot these days.

They sell all kinds of cool wrappers in the bakeware aisle of craft stores now and people make and sell them on sites like etsy.com where you can even request specific colors and patterns to go with different occasions and parties. If you have one of those awesome Cricut machines, you can make really cool ones really easily, with intricate designs, etc. But if you’re like poor old me, you can make fairly basic ones out of cardstock and make devoted best friends help you cut them out when you need about 50 million of them for a special cupcake order (thanks, Shar!). Here is a template you can print out on the cardstock or construction paper of your choice (again from my beloved CakeCentral site — you can find everything there and the people are so kind to share it!). It is really nice with a scalloped edge along the top, which you can freehand or use specialty scissors to create. The cutting out process is a pain, so if you are under a tight time frame, check out the expensive but totally lovely pre-made options on etsy and at the craft store. In fact, check them out anyway, they’re so cool.

Alright, that is my 2 cents on cupcakes and my latest creation in honor of Miss Amelia!
Hope you enjoyed!

Tags: baby, Baby Shower, Cooking, cupcake, Fondant, Frosting, Guest Blogger, Icing, Parties, Recipes
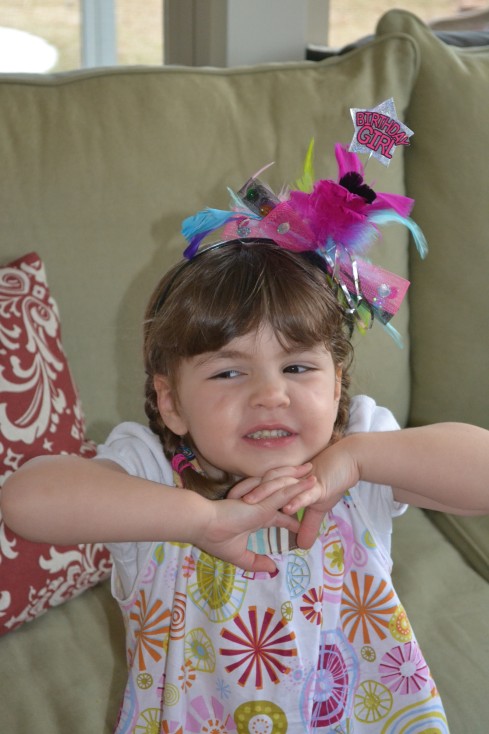 And in case you were wondering how to get a three-year old to pose on cue?
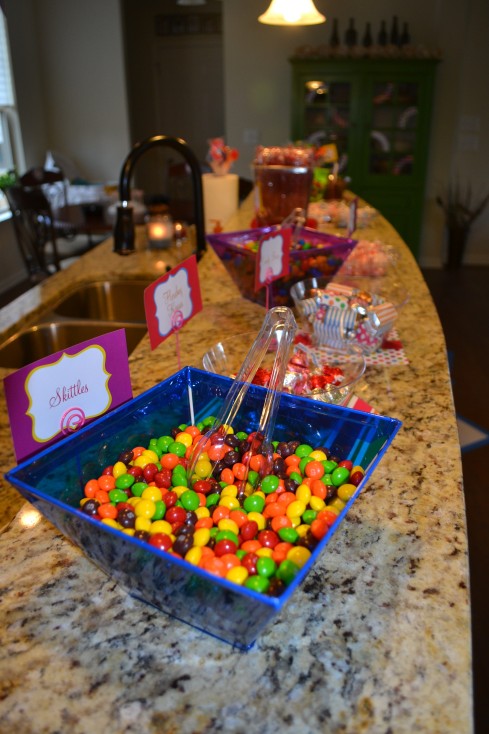
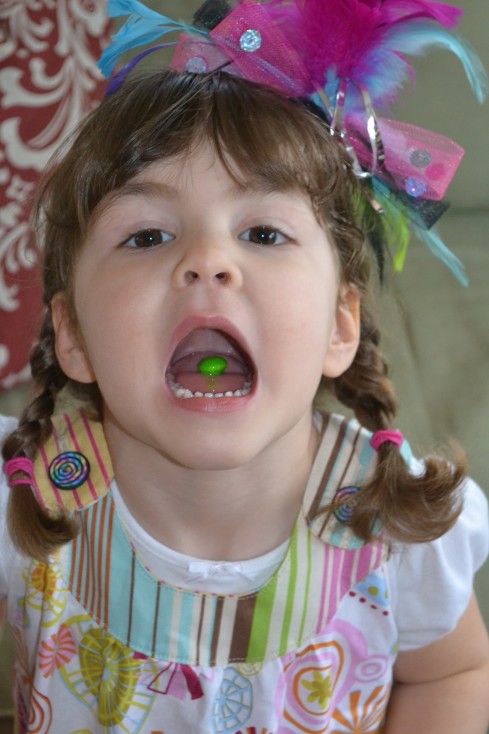 A Skittle bribe will work!
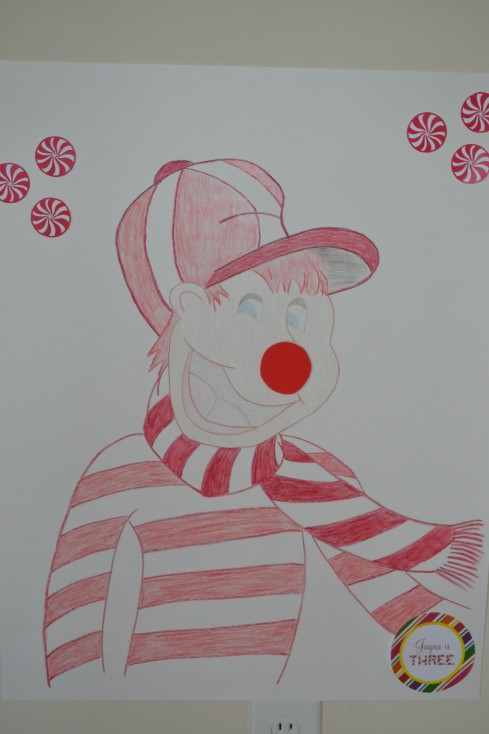
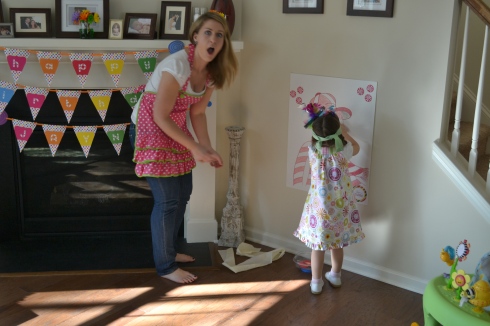 And it’s a good thing no one else played because Jayna would have swept it! She got him right on the nose, the very first time!!
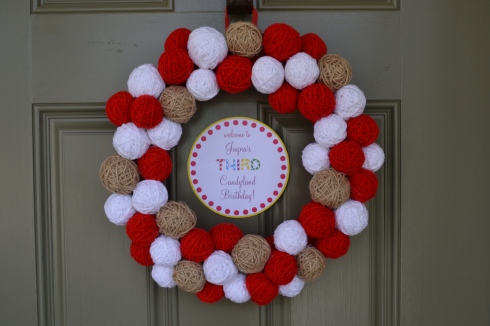 Nothing like a little upcycling! Remember when I made this wreath?